
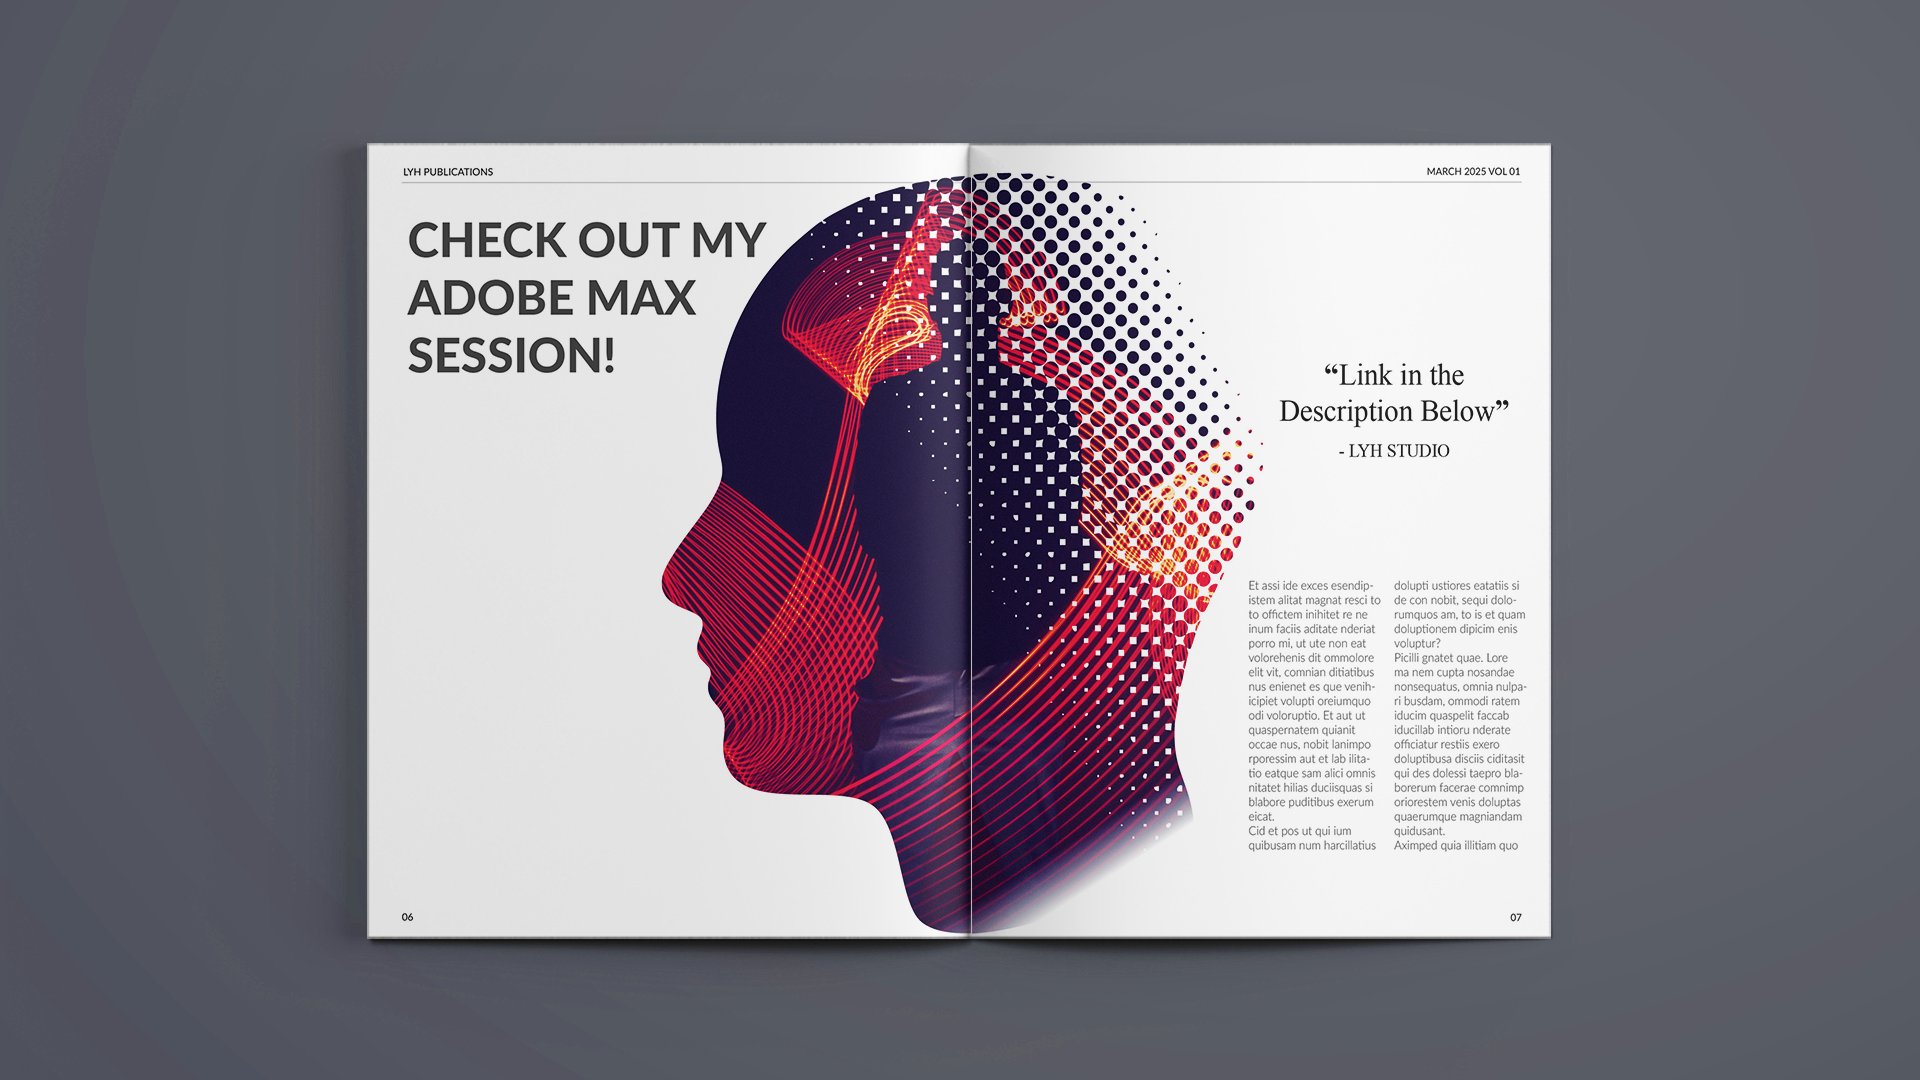
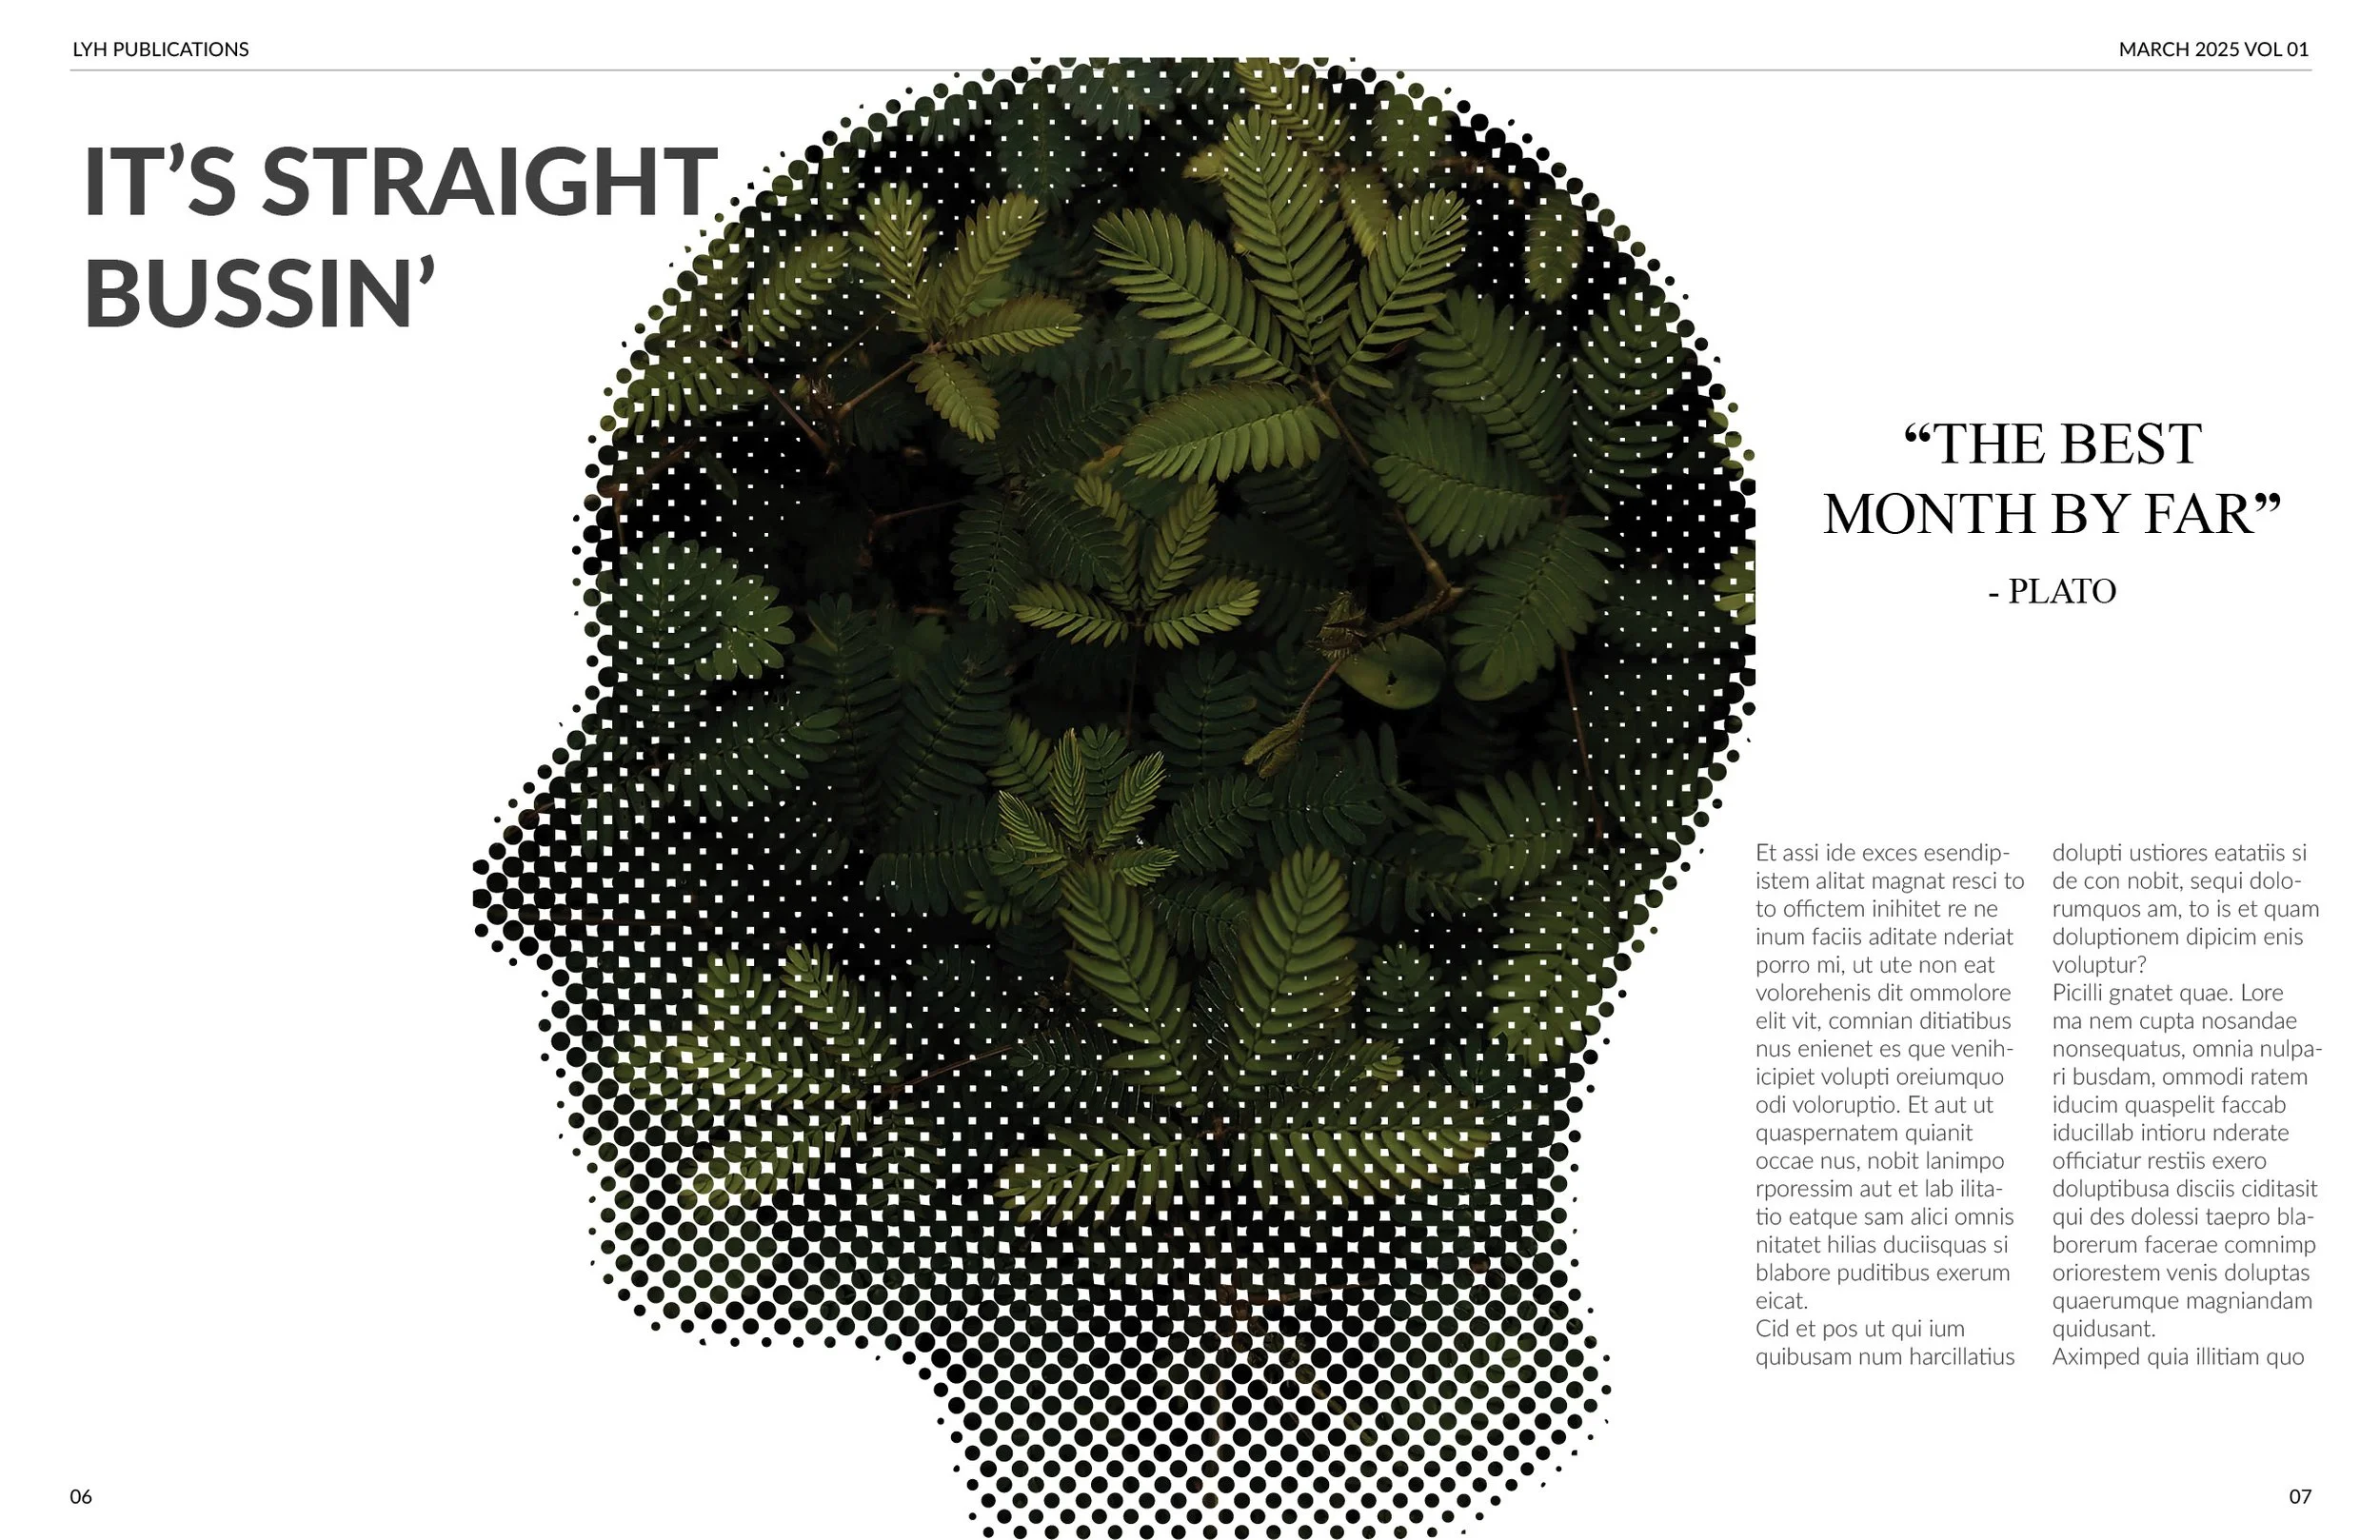
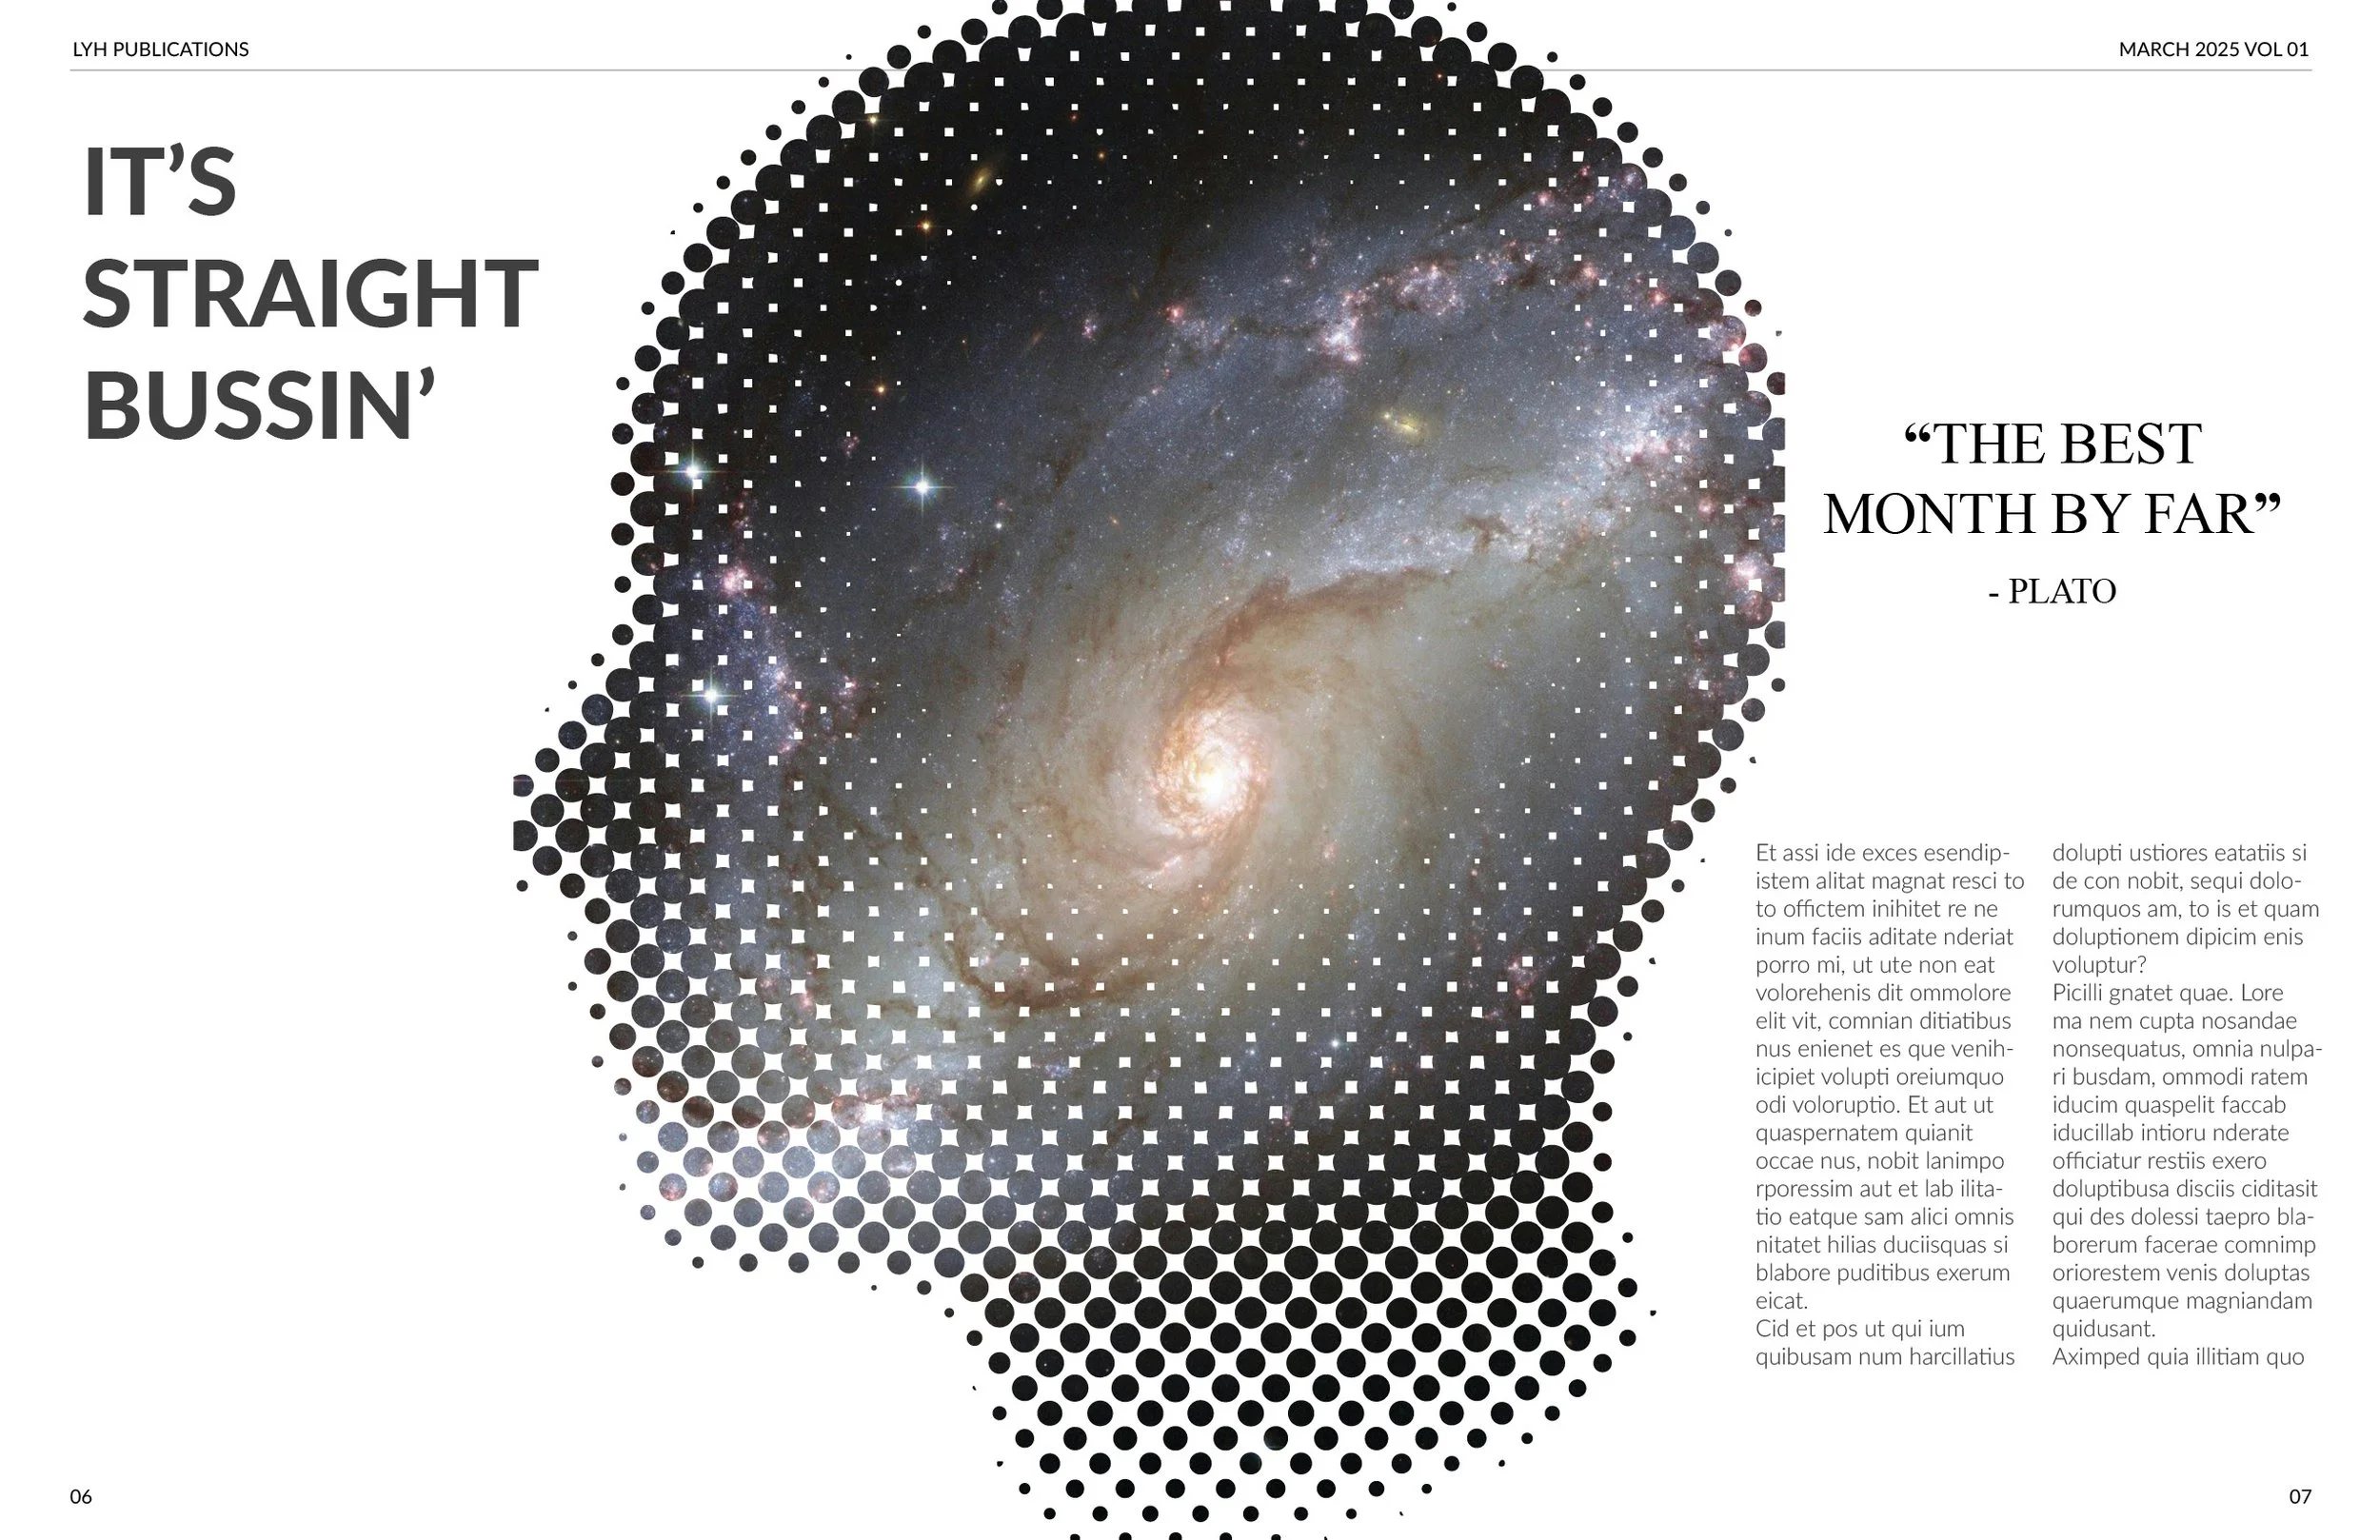
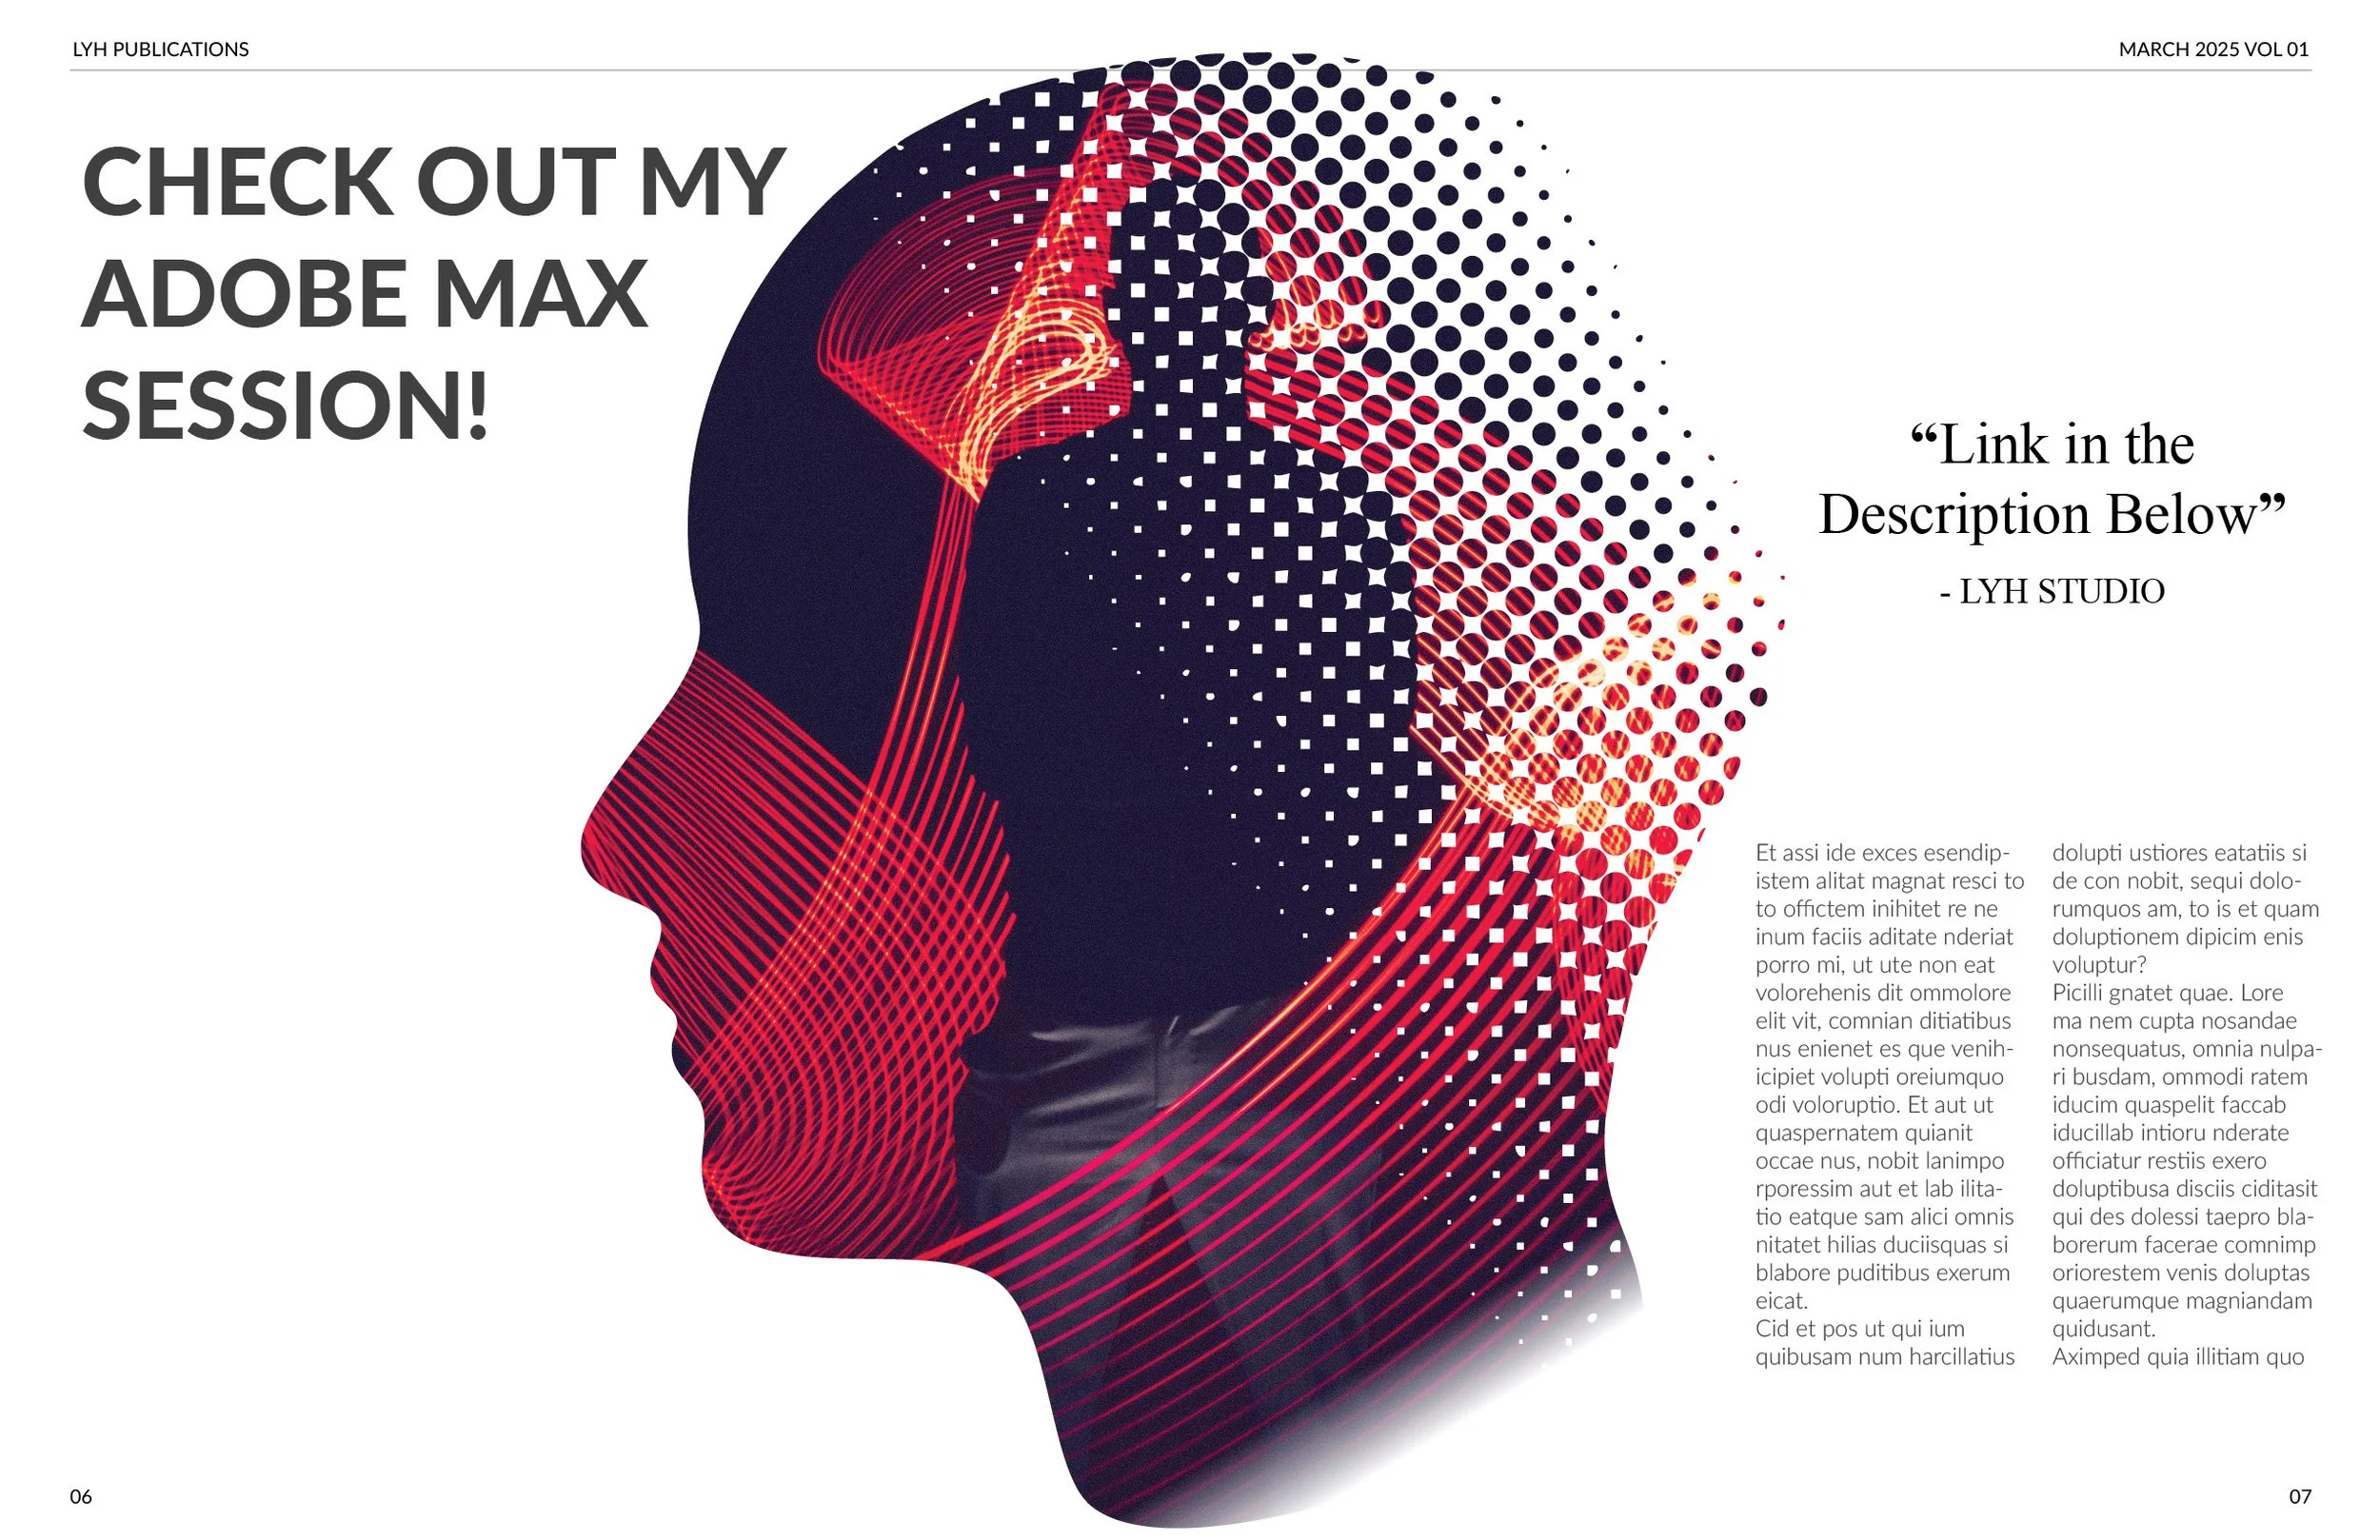
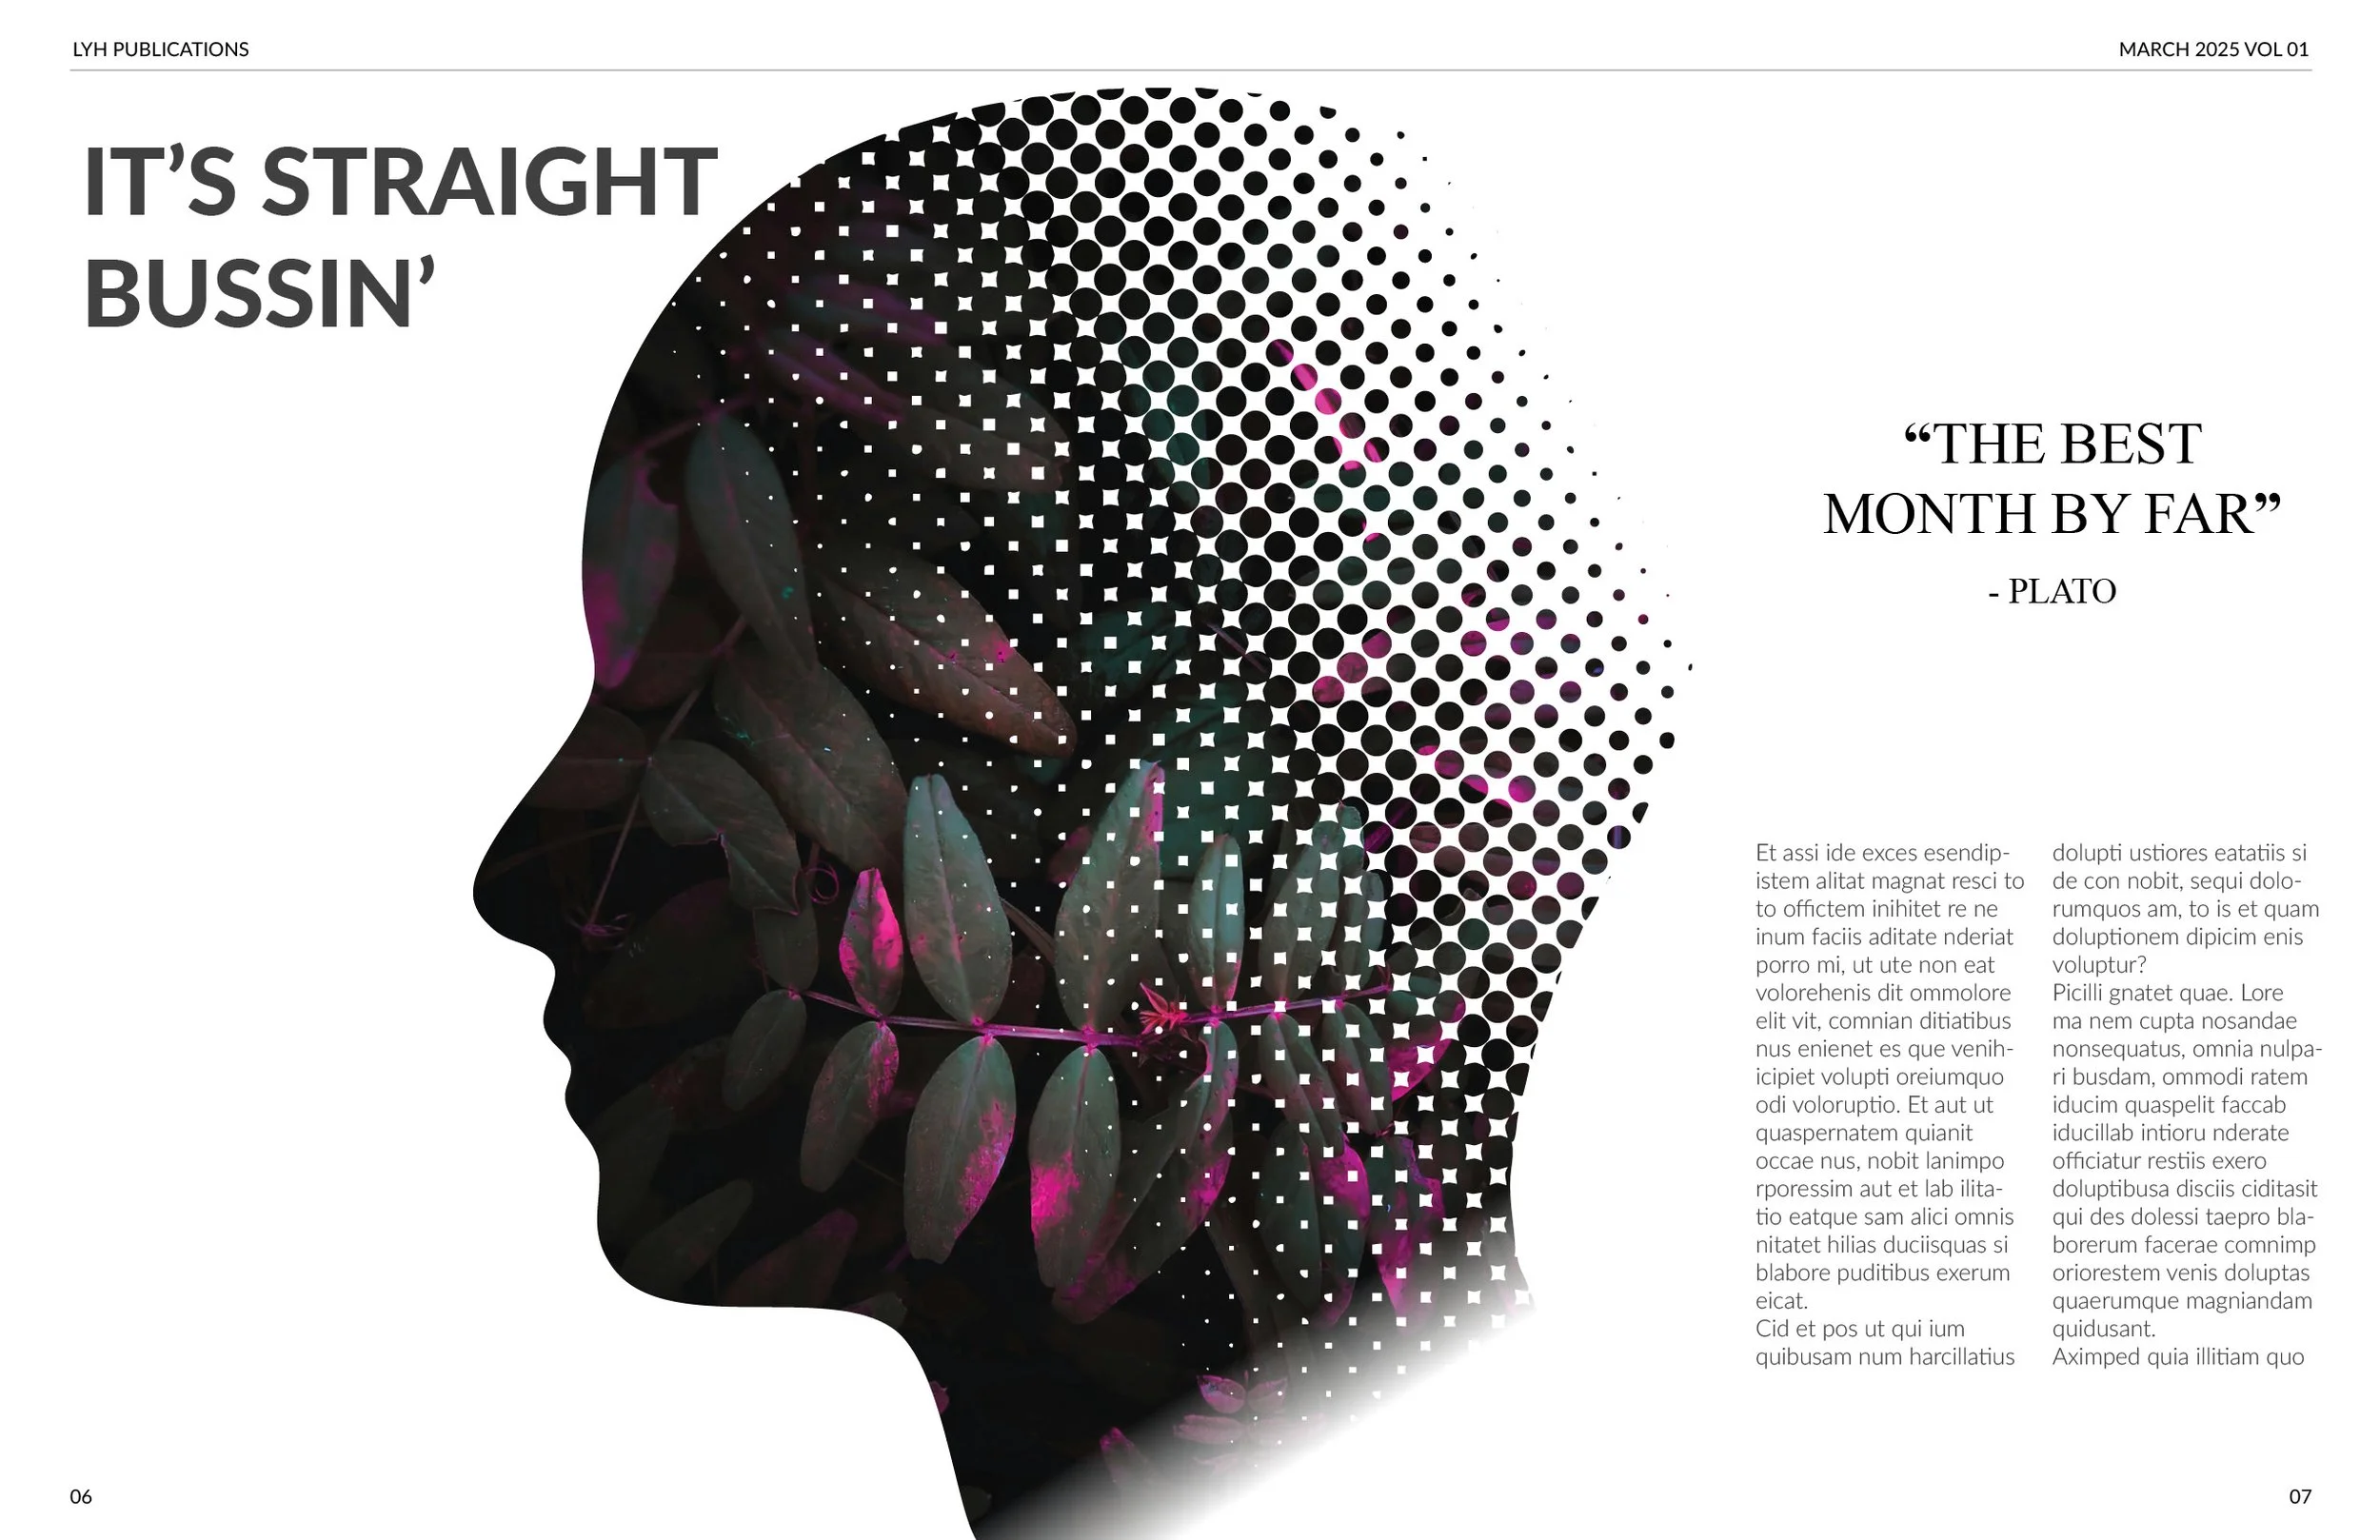
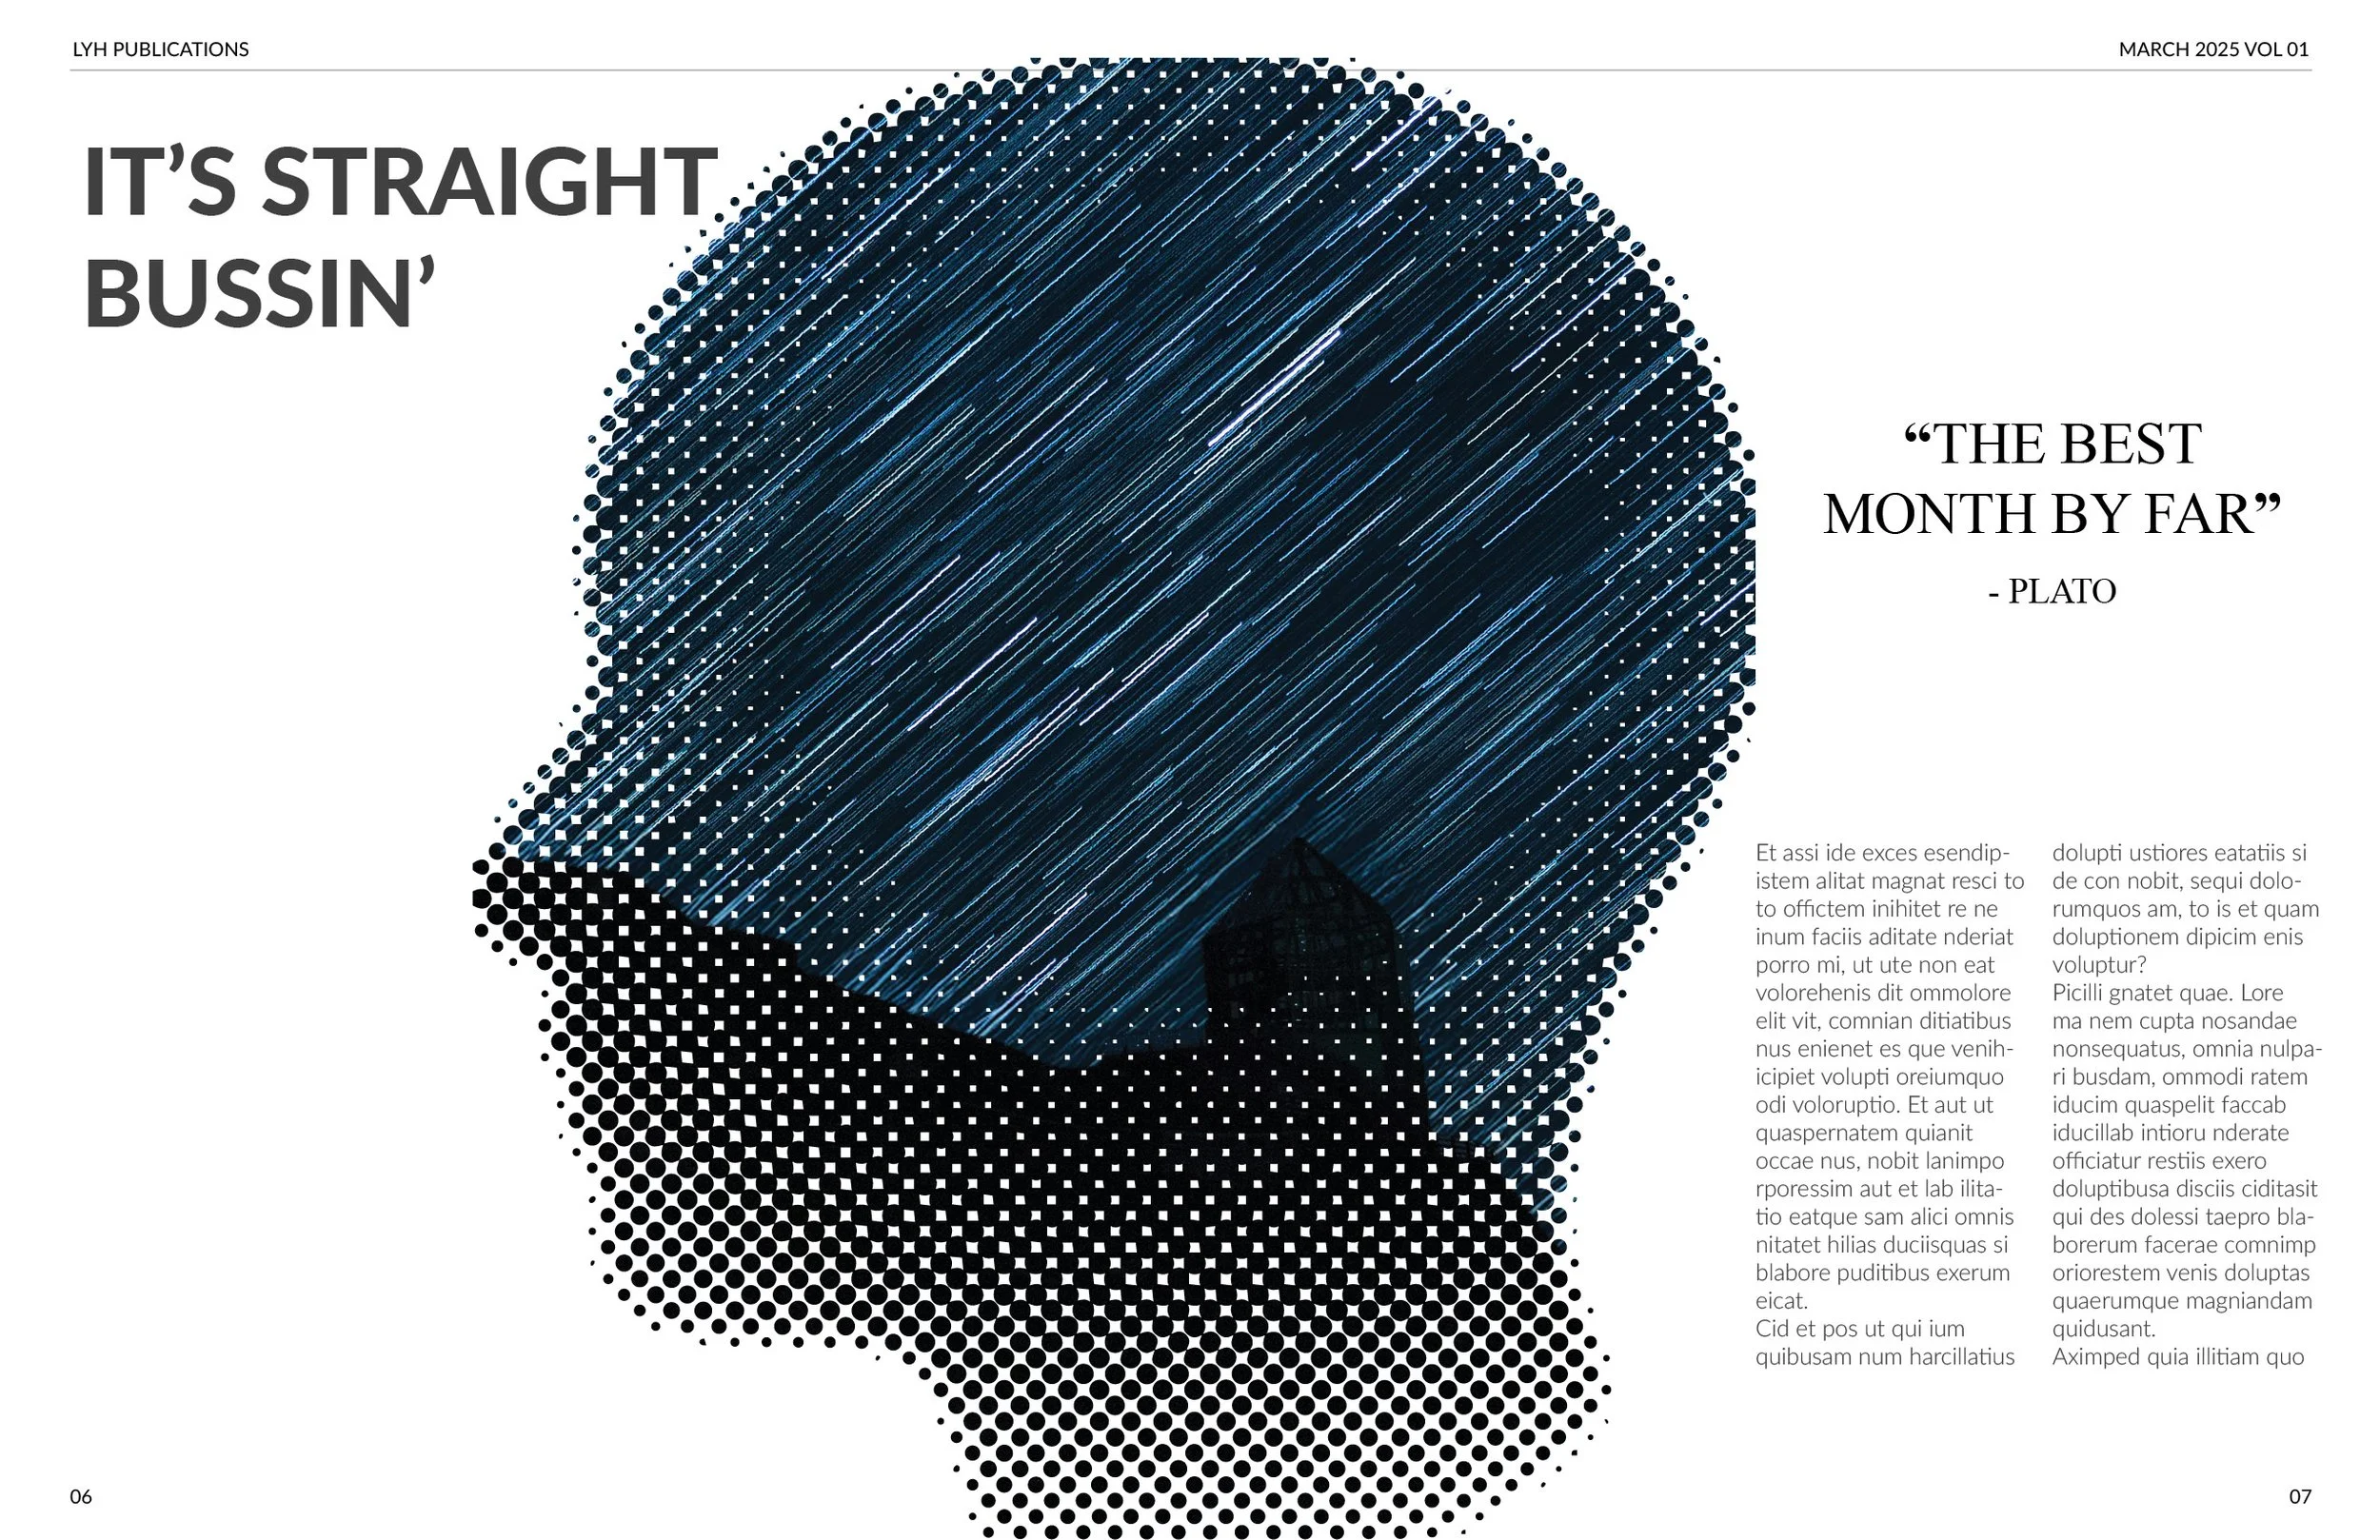
Layout 30 - Halftone Fade
-
-
Coming Soon
Illustrator – Build Halftone Effect
New Document Setup
Open Illustrator and create a new document sized 8.5" × 11".
Use the Artboard Tool (Shift + O) to resize if necessary to match your magazine dimensions.
Import and Prepare the Image
Place a black and white (or high-contrast grayscale) image onto the artboard.
With the image selected, go to Window → Image Trace and choose a black/white preset.
Click Expand to convert it into vector paths.
Clean Up the Vector
Right-click → Ungroup.
Select and delete all white fill shapes so only the dark portions remain.
Apply a Gradient Fill
With your vector shape selected, open the Gradient Tool (G).
Apply a black-to-white gradient.
Remember: Black areas stay solid, while gray areas will later convert to halftone dots.
Adjust gradient stops to control where the halftone appears.
Create the Halftone Effect
With the shape still selected, go to Effect → Pixelate → Color Halftone.
Enter a Radius (e.g., 40) to define maximum dot size.
Set all channels to the same value to keep it monochrome.
Click OK to apply.
Rasterize and Re-Trace
Go to Object → Rasterize.
Mode: Grayscale
Resolution: 300 ppi
With the raster selected, click Image Trace → OK.
Open the Image Trace Panel → Advanced:
Lower Path, Corner, and Noise values.
Ensure Shapes is checked to preserve circular dots.
Expand and Final Clean-Up
Click Expand to convert the halftone dots into vector objects.
Right-click → Ungroup.
Select one white shape → go to Select → Same Fill Color → Delete all.
Only halftone dots should remain.
InDesign – Layout the Halftone Pattern
Set Up Your InDesign Document
Create a new document with your desired page count.
For this demo: use a two-page spread, 8.5" × 11" each.
Set margins (e.g., 0.625") and bleed (e.g., 0.125").
Import the Halftone Vector
In Illustrator: Select All → Copy.
In InDesign: Paste into your spread.
If grouped, right-click → Ungroup.
Convert into a Compound Path
Select the halftone dots → go to Object → Paths → Make Compound Path.
This creates a single frame that can hold an image.
Place an Image into the Halftone Mask
Drag and drop an image into the compound path.
Right-click → Fitting → Fit Frame Proportionally.
Double-click to reposition the image inside the masked dots.
Add Finishing Effects
With the compound shape selected, go to Effects (Window → Effects).
Apply Gradient Feather to fade halftone edges into the page.
Optionally use Directional Feather to fade only one side (e.g., bottom).
Add Text and Design Elements
Use the Type Tool (T) to place titles or captions near the halftone effect.
For harmony, use the Eyedropper Tool (I) to sample colors from the image.
Apply character styles or underline accents for emphasis.